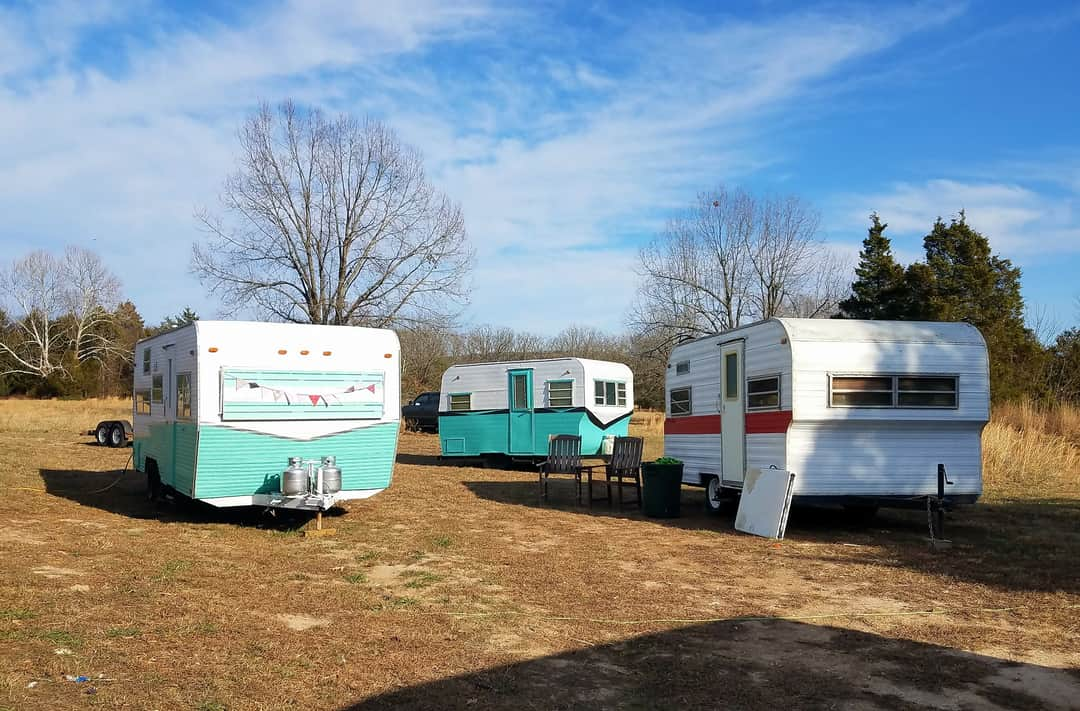
Camper Flipping Series: Interior and Exterior Painting

In the previous posts we have covered how to locate a camper, what to look for in a camper, and demolition. Today we will talk about painting.
I will share 3 things in the painting process that will hopefully help you end up with a beautiful camper remodel!

1. Prep Prep Prep
This step is like 70% of the time in painting, but is so important for a good outcome. It is easy to not take this step seriously or rush through it, but spending time here will save you time later- I promise.
This step includes cleaning the area and the area around the painting wall, taping off anything that needs to be taped, and using wood putty or wall repair to fix any impurities in the area to be painted. If the area to be painted is a smooth surface it will need to be sanded first. Sometimes I use an electric sander and other times for smaller areas I will manually sand.
Prep is so important. Block off several days for this step. You won’t regret it.

2. Use quality paint and paint tape
I have used a lot of different kinds of paint over the years. My favorite paint is from Sherwin Williams. All of their paint is good. When I select the colors I tell them if it is for interior or exterior and they mix it accordingly. Sherwin Williams often has coupon codes that makes their paint not as expensive.
A close second to Sherwin Williams paint is the top tier paint at Lowe’s. I tell them if it is for interior or exterior when they mix the color. I have had good experiences with both of these paints. I usually do two coats and then a third coat for areas that need touchup.
I use middle of the line brushes as far as cost goes and like varying sizes depending on if I am painting a larger wall or the edges. For painters tape I use frog tape everytime. It is the best! The lines will be perfect and the tape does not pull off the paint.
There is nothing worse than cheap paint when you have big goals for completing this step of the remodel and you are on your 4th or 5th coat- yuck!

3. Try metallic paint
Metallic paint is so cool and adds amazing detail to a camper whether it is to freshen up drawer pulls or to paint the window frames or adding a stripe to the exterior.
Every time I use metallic paint- gold or silver- I am amazed with the outcome! I get this in a pint container from Sherwin Williams. It is oil based so it is messy and has an odor. It is also hard on paintbrushes. But, the end result is so worth it!
You can also get spray paint in a metallic color which is a good option to change the look of cabinet pulls or to freshen up window screen frames.

Painting is when it starts to get fun. The whole look of the camper changes when a fresh paint job is completed! Painting is also one of those projects that is exciting, but exhausting and sometimes it seems like it is neverending.
I usually work in small sections like the the dining area, then the kitchen, then the bedroom, and then the bathroom. For some reason completing a small area is motivation to go to the next section rather than just painting the whole camper at once. Sometimes I freshen up the ceiling with a new coat of paint, too. Painting can be a fun part of a camper remodel.
Happy painting!
Until next time,

About The Author
Karla Bradley
I am a mommy of 8 awesome kiddos. We are building a classic colonial home. I love remodeling vintage campers and my hubby enjoys fishing when he is not in the operating room. We live a fun life and I love sharing ideas to help make life easier for other mommas. Hope you enjoy our page!
Related Posts
The Landmark
The Landmark camper is definitely one of my all time favorites. This is a 2016…
February 24, 2022Powered byWordPress Security
Powered byAdd Cookies Popup in WordPress


